Production Possibility Curve (Choice and Opportunity Cost)
Microeconomics
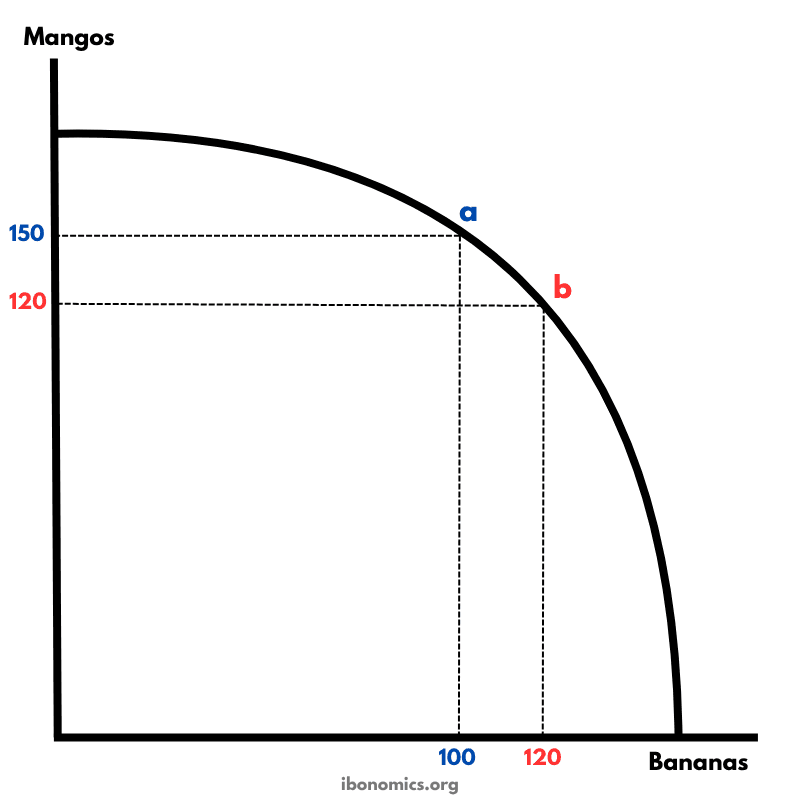
A production possibility curve illustrating the concept of opportunity cost and the trade-offs between producing two goods: mangos and bananas.
Curves and Elements
ppc
Production Possibility Curve (PPC): Represents the maximum possible output combinations of two goods an economy can produce when resources are fully and efficiently used.
point a
Point a: Produces 150 mangos and 100 bananas. More mangos, fewer bananas.
point b
Point b: Produces 120 mangos and 120 bananas. More bananas, fewer mangos.
Point a represents a combination where 150 mangos and 100 bananas are produced.
Point b represents a different combination with 120 mangos and 120 bananas.
Moving from point a to point b involves a trade-off: gaining 20 more bananas comes at the cost of producing 30 fewer mangos.
This illustrates the concept of opportunity cost — the loss of the next best alternative when a choice is made.
The curve is concave due to the law of increasing opportunity cost: as more bananas are produced, increasingly more mangos must be sacrificed.
Any point inside the curve would represent underutilization of resources, while points outside are currently unattainable.
More Microeconomics Diagrams
Explore other diagrams from the same unit to deepen your understanding
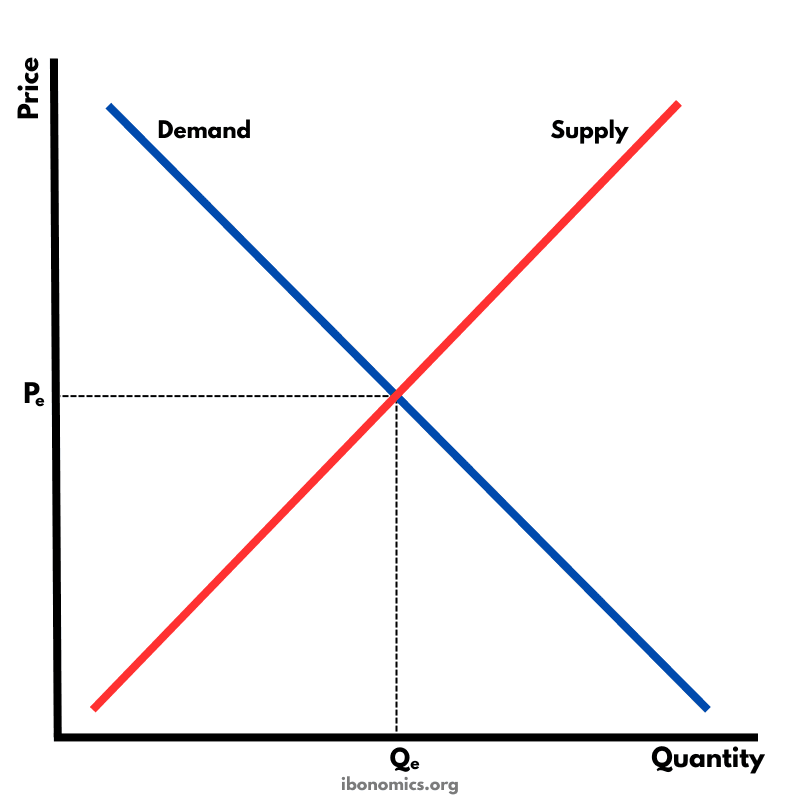
The fundamental diagram showing the relationship between demand and supply in a competitive market, determining equilibrium price and quantity.
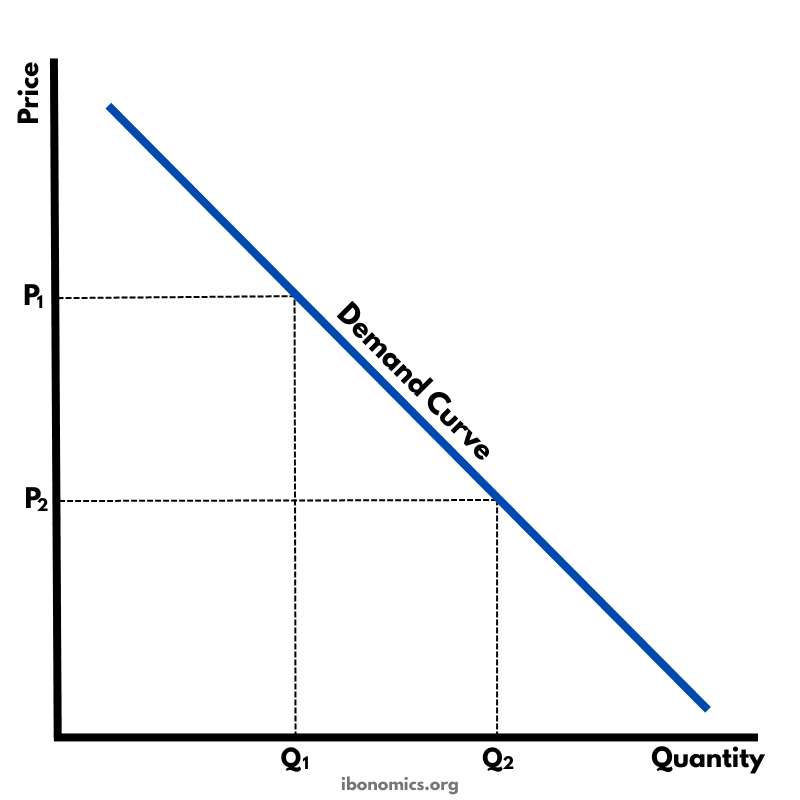
A basic diagram showing the inverse relationship between price and quantity demanded, illustrating the law of demand.
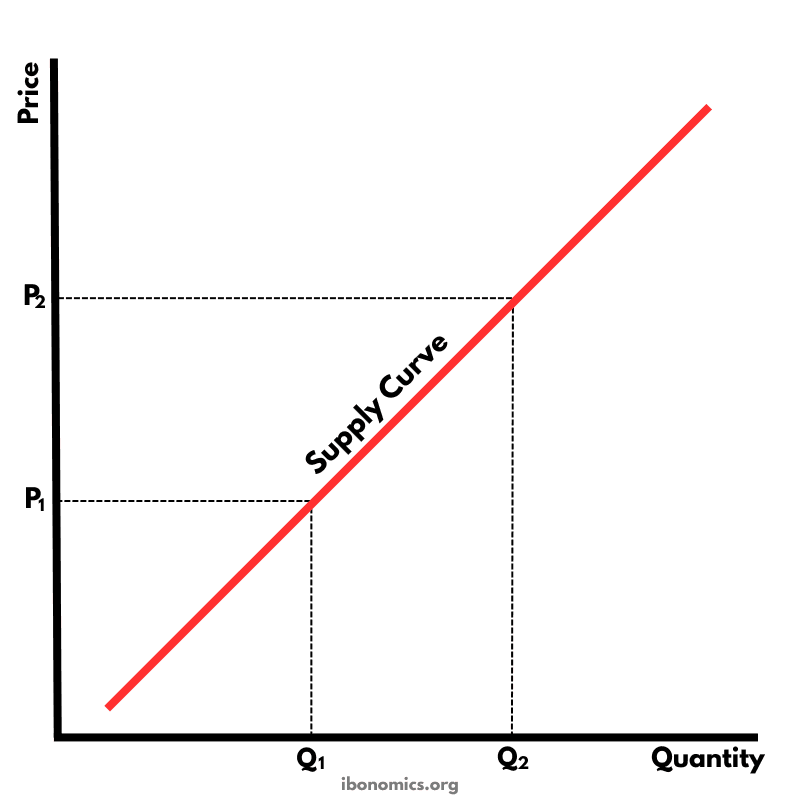
A basic diagram showing the positive relationship between price and quantity supplied, illustrating the law of supply.
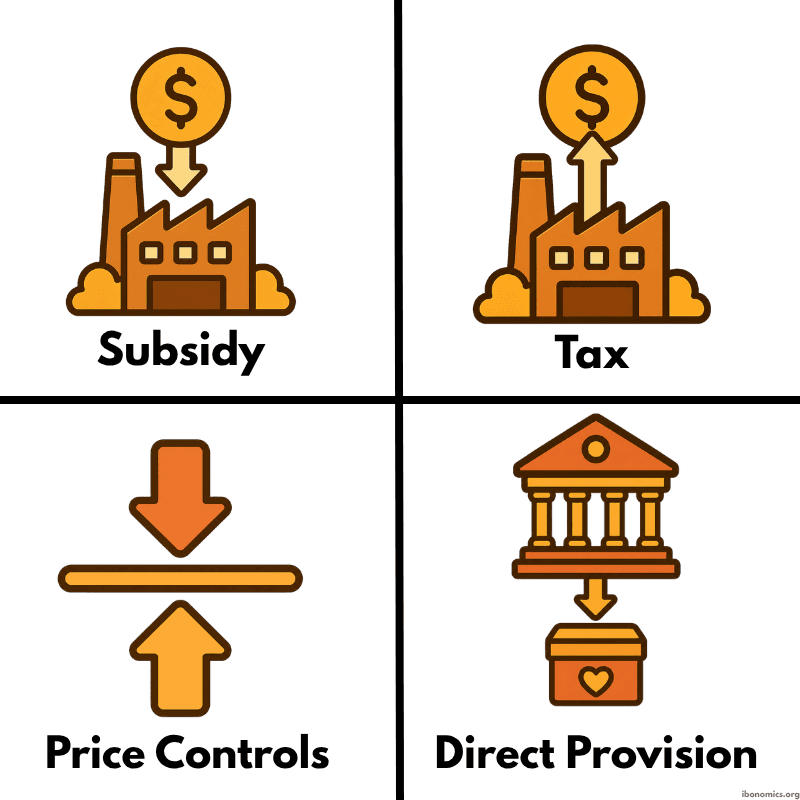
A simple diagram showing four common forms of government intervention in markets: subsidies, taxes, price controls, and direct provision.
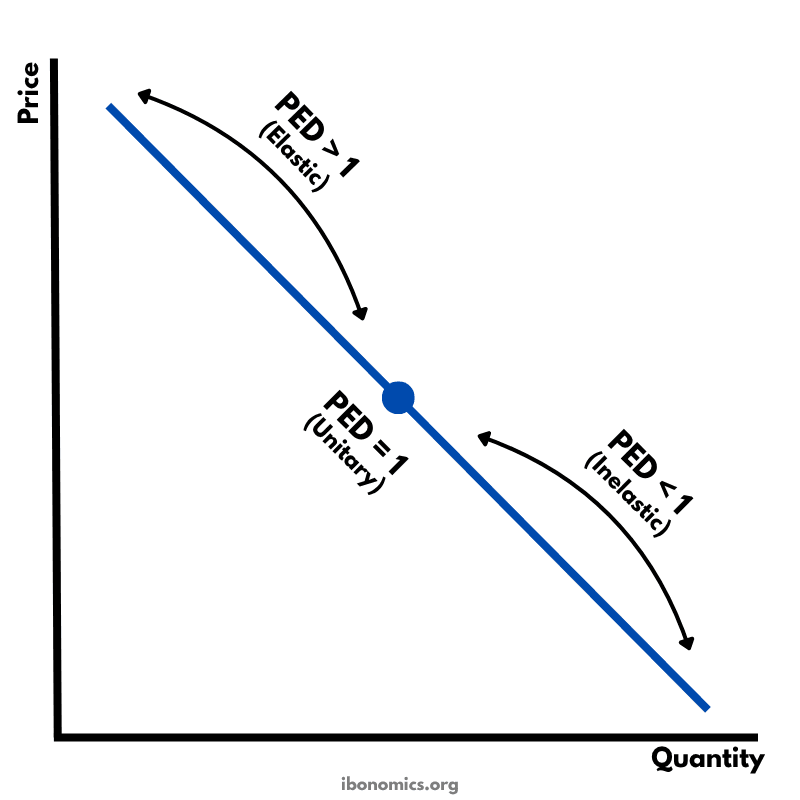
A diagram showing how price elasticity of demand changes along a straight-line demand curve, from elastic to unitary elastic to inelastic.
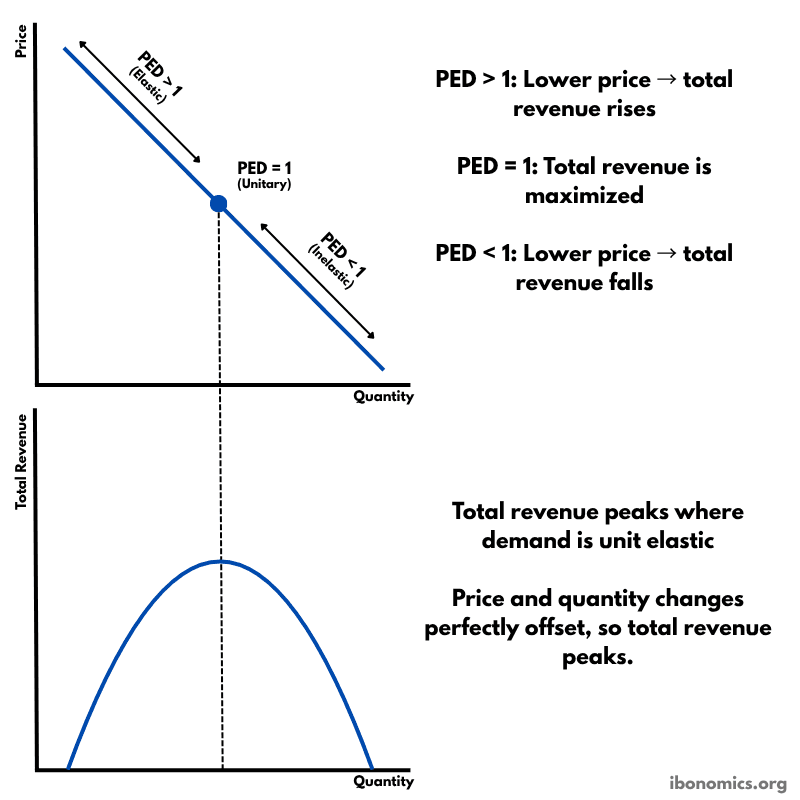
A diagram showing how price elasticity of demand affects total revenue, with total revenue maximized where demand is unitary elastic.